
How to make teeth impressions at home is a common question that people raise before they begin their teeth straightening journey. It is understandable to be concerned about making your impression perfect because you want your smile to be perfect! The reality is that all teeth straightening products require impressions or a scan of your teeth to assess your alignment and make a teeth straightening plan for you. Luckily for you, EZ SMILE’s home impression kits are super simple to use, have great instruction videos, and we can achieve great results from your at home impressions.
How to Make Teeth Impressions at Home
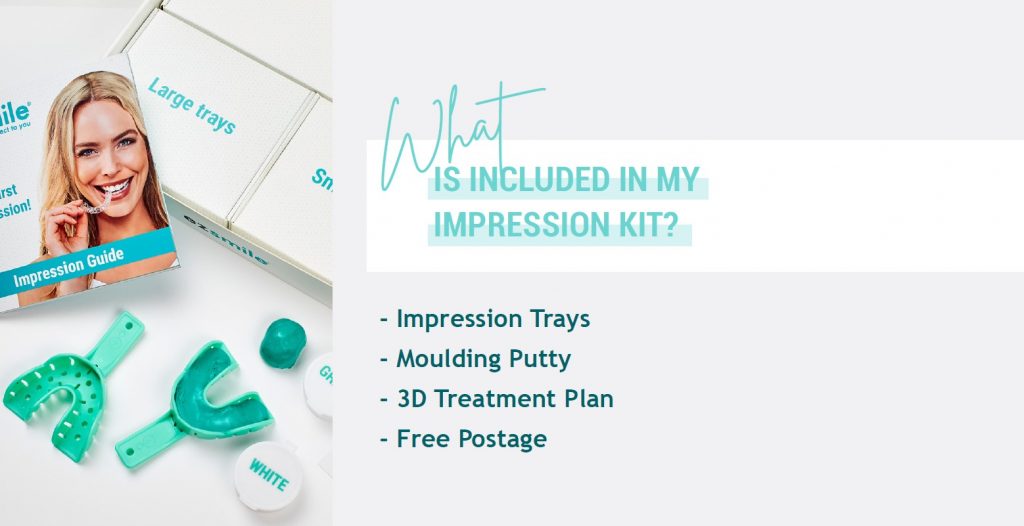
Having your teeth assessed does not have to involve a trip to the dentist! You can find out if you are eligible for clear aligners from the comfort of your own home with our at home impression kits. You may be concerned about how to make teeth impressions at home but don’t worry! EZ SMILE provides all the equipment and instructions you need to make the process clear and simple for you. Our home impression kit has multiple tray sizes to fit every mouth, pots of putty to take the impression of your teeth, gloves, a guide to making impressions and a reply-paid postage bag. We give you a few extra materials in case of any mistakes you make the first time around.
The process of making teeth impressions at home takes a matter of minutes and it is ready to send back to our expert team to scan to begin your treatment. It involves mixing the green and white putty, placing the putty into the tray, pushing the tray into your teeth and leaving this for a few minutes or until the putty has set. There are a few things you need to keep your eye out for when you make teeth impressions at home to get the best impression you can. When pushing the tray into your teeth, use both of your thumbs and apply pressure evenly in the back and the front in a smooth motion. Also, make sure your lip is over the front of the tray and then gently press and rub on your cupid’s bow and the skin either side. This will help the putty to mould up into your gums and around all your teeth and make your impression more detailed. Make sure to compare your impressions with the examples in the instruction booklet to make sure they are similar in quality. It is always encouraged to send us photos of the impressions before sending back, this way if they are not deemed suitable we can save time and send you some extra putty.
The Alternative To Making Teeth Impressions at Home
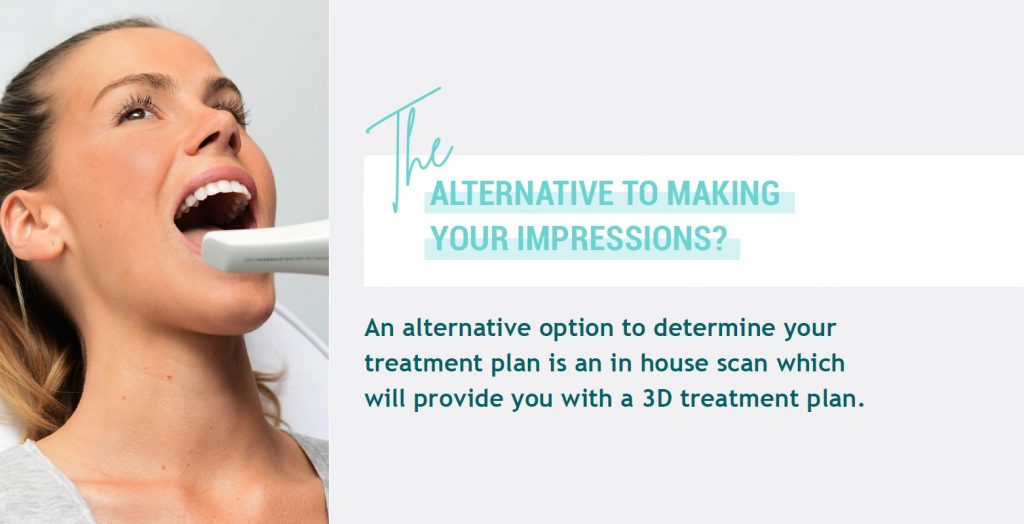
If making teeth impressions at home sounds just a bit too daunting for you, we do offer an alternative option to get to know your smile and begin your EZ SMILE journey. We can assess your teeth using a 3D scan which will give you the same personalised teeth straightening plan that an at home impression kit will provide. A 3D scan will take only 30 minutes and we have partners at multiple locations in Australia and New Zealand who will conduct a top-quality scan of your teeth. After your scan, you will receive a personalised 3D teeth straightening plan which will show you the expected results of your treatment and how many aligners you will be required to wear. It is only then, when you are happy with the results in your 3D treatment plan, that we begin the process of making your clear aligners.
How Are Clear Aligners Made?
You may be wondering how an at home teeth impression results in the series of aligners you receive in the mail. When you send in your impressions, members of our EZ SMILE team digitally scan the impressions you have sent and we see your teeth as a 3D digital model. We then send this to our lab to be analysed and we create your 3D treatment plan which we send to you. Only when you are happy with your plan will we 3D print your aligners based on your treatment plan. Our aligners are made TGA, CE and USFDA approved high-quality, comfortable, smooth, BPA-free plastic which does not irritate the inside of your mouth like metal braces. We then send you your aligners and you begin your treatment!
What Happens After The My Aligners Are Made?
Once you have gotten over the hurdle of how to make teeth impressions at home, sent your impressions to our team and had your clear aligners made, it is time to start straightening your teeth! We will send every single one of your personalised aligners directly to you once they have been manufactured. You will then need to wear each set of aligners in the required order for the length of time specified until you switch to the next set of aligners. Your treatment should last around 4-8 months and once you have finished your treatment plan, you will need to wear a retainer full time for a period of time until your teeth settle, then at night time to maintain your beautifully straight smile. It is that EZ to get the smile of your dreams!

The Difference Between Clear Aligner and Braces Impressions
Although they both aim to achieve beautiful smiles, clear aligners and braces have many differences and making teeth impressions is no exception. The process for both braces and clear aligners begins with making impressions of your teeth. Impressions for EZ SMILE clear aligners are taken by at home impression kits or 3D scans and any concerns about how to make teeth impressions at home can be addressed by EZ SMILE. In contrast, impressions for braces are taken by orthodontists, usually using similar impression kits to the at-home ones offered by EZ SMILE.
The course of treatment for braces begins with metal brackets being stuck to your teeth and your first wire being inserted. As your teeth begin to move, you go back to your orthodontist for regular wire changes with wires often getting thicker and more uncomfortable. Depending on your treatment plan, you also may need to wear elastics which hook to a bracket on your top and bottom teeth. You do not remove your braces until the end of your treatment. Clear aligners are very different. You wear a series of aligners on both your top and bottom teeth, moving to a different set every two weeks. You can remove your aligners to eat but it is recommended that you wear the aligners for 20+ hours every day. To be most effective you need to commit to wearing them, with metal braces you do not have the luxury of removing them, so we encourage EZ SMILE customers to only remove the aligners when eating or drinking anything other than water.
If one of your main concerns about choosing EZ SMILE for clear aligners was how to make teeth impressions at home, hopefully you now realise that it is quick, simple and nothing to worry about. EZ SMILE aims to make your entire teeth straightening process as manageable and convenient as possible which includes making teeth impressions. Who wouldn’t want to straighten their teeth from the comfort of their own home? EZ SMILE’s customer support team is always happy to help answer any enquiries or concerns you have about our clear aligner products. Visit our website and take the Free 30 Second Assessment to find out if EZ SMILE clear aligners are right for you.